
A thick sock, a hair dryer, and two bandages beat the first-week heel shred without killing your outfit.
The double-sock + hair dryer break-in (10 minutes, tops)
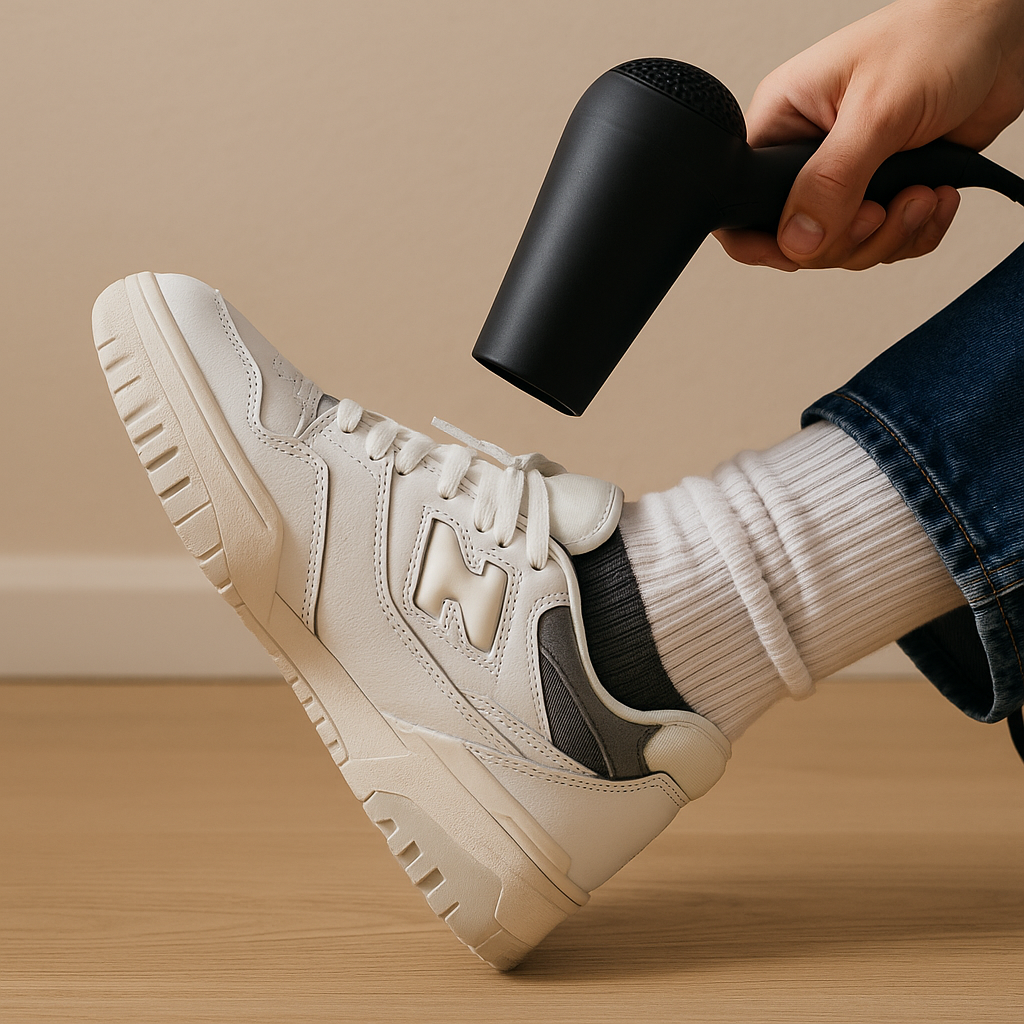
I love a chunky street-style sneaker with a big sole and a loud silhouette, but the first week can be brutal. The stiff heel counter is usually the villain, especially on pairs that look great with a straight-leg jean or a baggy trouser (New Balance 550s, Nike Air Force 1s, Adidas Sambas when they run tight at the back). Here's the break-in I do the night before I know I'll be walking a lot.
Put on two socks: a thin ankle sock first, then a thicker crew sock over it. Lace the sneaker up like you're going to leave the house, not loose. Now hit only the problem spots with a hair dryer on medium heat for about 30 to 45 seconds at a time. Keep it moving so you're not cooking the glue. Stand up and flex your foot while the material is warm, then walk around your hallway for two minutes. Repeat once. That's it.
This works because you're softening the exact curve that's digging in, while your foot is inside shaping it. The mistake people make is blasting the whole shoe until it's hot, then wondering why the toe box creases weird or the sidewalls get wavy. Keep the heat tight and targeted. If it's leather, you'll feel it give a little. If it's synthetic, you'll mostly be persuading the padding and the stitching to stop acting like cardboard.
My personal rule: I do this once, then I wear the sneaker for a short errand (coffee run, grocery store) before I try a full day of city steps. Street style looks effortless, but my feet know the truth.
Bandage placement matters more than the brand
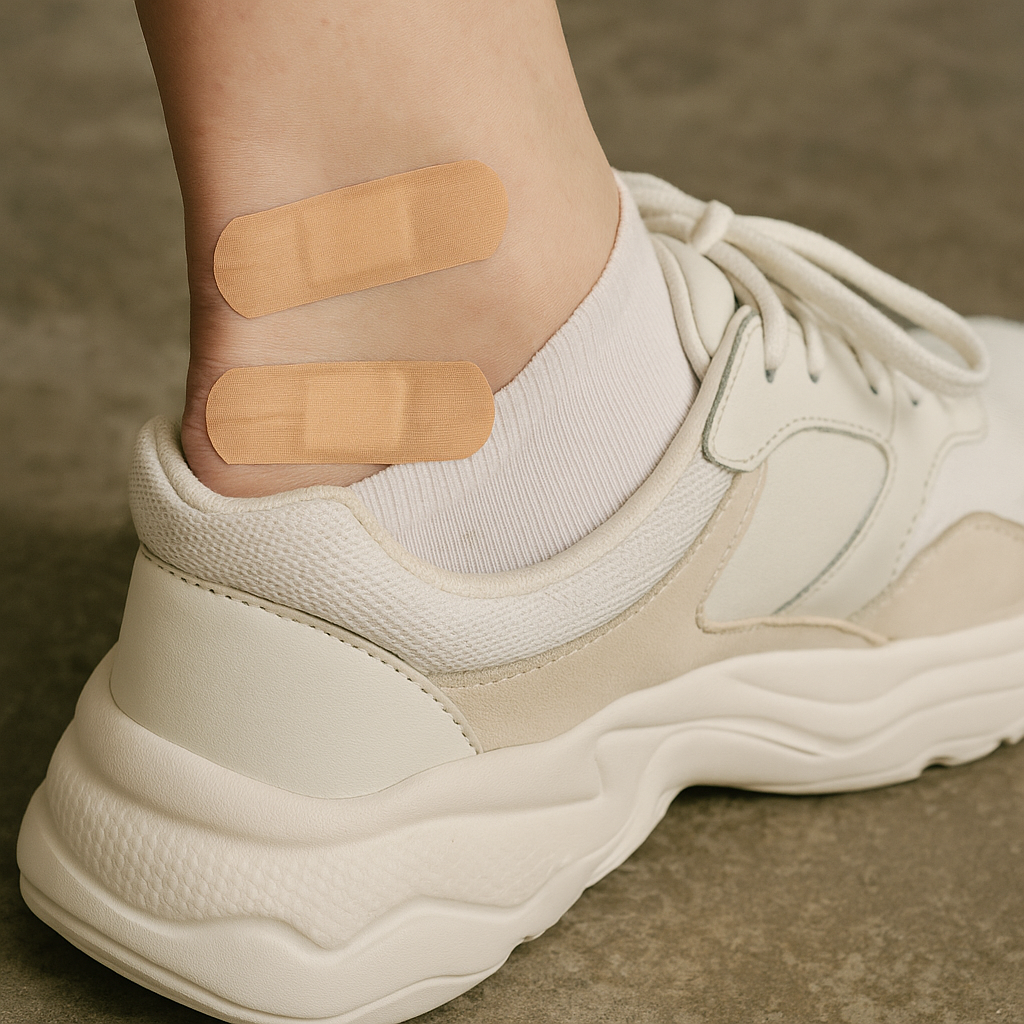
I've tried every street-style friendly “cute sock” situation, and I still keep coming back to the boring fix: smart bandage placement. Not the brand. Placement. When you're wearing low socks with sneakers (the look everyone copies from outfit photos outside shows), your heel is exposed to the exact spot the shoe rubs, and that's where you lose the day.
Here's what I do before I leave, especially if I'm wearing a stiffer sneaker with a clean upper that doesn't give much: I use two small blister bandages instead of one big one. One goes slightly above the back-of-heel bone (where the shoe collar hits when you step), and the second goes a little lower, closer to where your heel curves under. If you put one huge patch dead center, it tends to bunch when you walk, and that bunch becomes its own hot spot. Two smaller pieces move with your skin better.
If you like hydrocolloid (Compeed-style), apply it to completely dry skin. No lotion, no dampness from a shower, no “it'll be fine.” Press it down hard for 20 seconds so the edges seal. If I'm using regular bandages, I do a thin smear of petroleum jelly on the bandage pad, not on my skin. Sounds fussy. It's not. It keeps the friction from grabbing and rolling the bandage up like a tiny sock.
Street style is a lot of standing around: waiting for a friend, waiting for the train, lingering outside a pop-up. That stop-and-go walking pattern is blister city because your heel keeps re-hitting the same spot. This is the difference between “I can finish the day” and “I'm limping home with my sneakers in my tote.”
Lace tension mapping for the wide-foot, narrow-heel crowd
There's a very specific street-style problem that doesn't get talked about in the mirror selfie era: lots of us have a wider forefoot and a narrower heel, and chunky sneakers amplify it. You buy a size that feels good across the toe box, then your heel lifts with every step. That heel lift is what creates the rub, even if the shoe is technically “comfortable.”
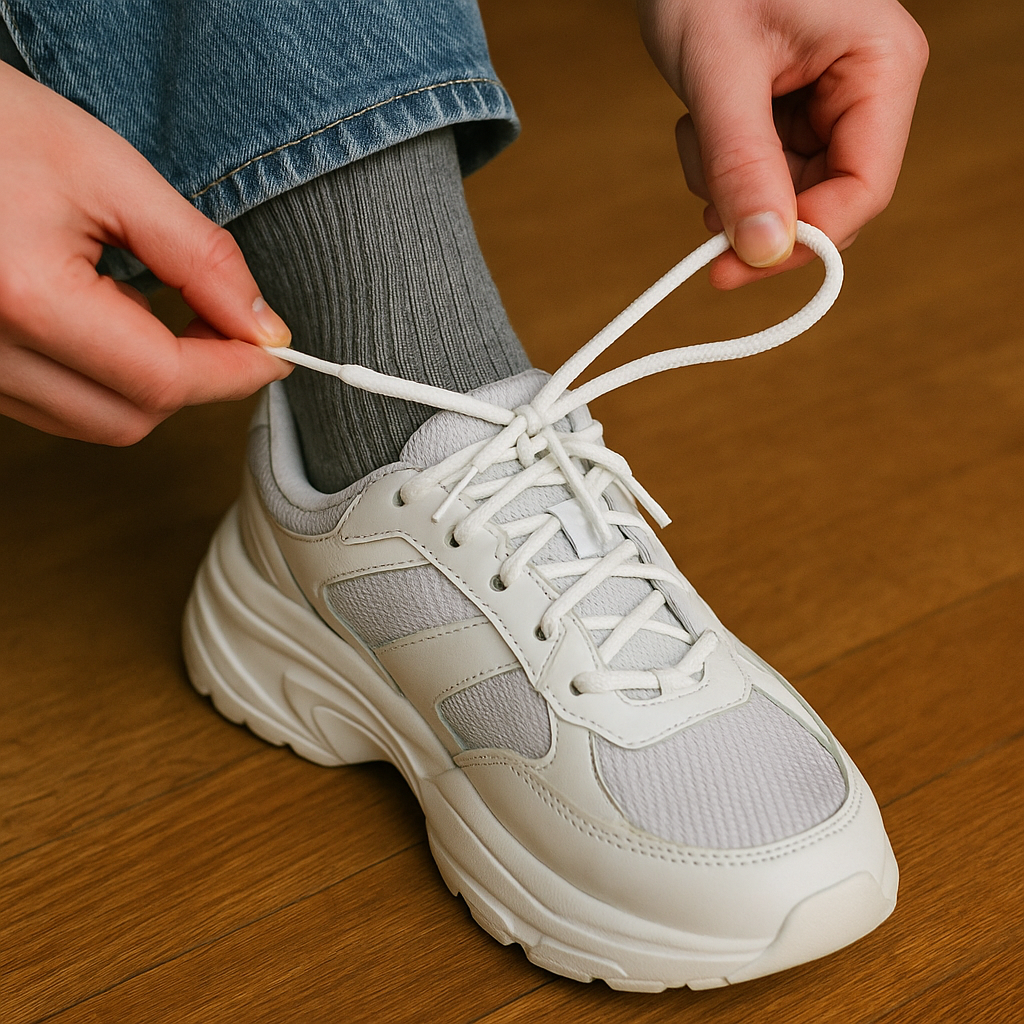
I fix it with what I call lace tension mapping. It's not fancy. You're just tightening different sections on purpose instead of yanking the whole lace evenly and hoping for the best. Start by loosening everything. Put your foot in, then snug the laces only across the forefoot first (the bottom two to three rows). Keep that section comfortably roomy. Now, in the midfoot, pull a little tighter so the shoe hugs the top of your foot and stops sliding forward. Finally, at the top two eyelets, go tight enough to lock the heel down, but not so tight your foot goes numb.
If your sneaker has an extra top hole (a lot of Nikes do), use it for a runner's loop. Thread the lace into the extra hole on the same side to make a small loop, then cross the laces and feed each end through the opposite loop before tightening. You'll feel the heel settle back like it found its seat.
This is the rare style tweak that shows up in photos, too. When your heel isn't slipping, your stance looks more relaxed. You stop doing that tiny toe-grip thing that makes your pants leg twist and your sock peek weird. Baggy jeans, clean sneaker, no limp. That's the goal.